JWT Authentication in Apollo v4 - Part 2
Authenticating a React-Native Application
Longtime CTO, MIT Aero-Astro grad who pivoted to software development. Spent most of my career in Silicon Valley then moved to Paris for a couple years and am now back in the mountains of California near Lake Tahoe. Fractional CTO for a stealth startup and fractional professional ski instructor in the winter. Fractions may not add up to 100% due to rounding.
Having built the server side in part 1 we now turn our attention to authenticating a client. You can probably find many examples for react but fewer people write examples about react-native and I remember how much angst this caused me when I was building my first react-native app so we'll do that.
The code behind this post can be found on GItHub. I suggest you clone that repo if you want to follow along.
The principles described here apply equally to ReactJS web applications so you should still be able to follow along if you're a react developer but have not yet dipped your toes into react-native - the
.tscode will generally be the same, only the.jsxwill differ. You may also want to handle local storage differently on web.
Define the App's Entry Point
reactNativeApp/App.tsx
This is the main entry point for the app. It is basically boilerplate.
import { ApolloProvider } from '@apollo/client';
import { Navigation } from './navigation';
import React from 'react';
import { SafeAreaProvider } from 'react-native-safe-area-context';
import { StatusBar } from 'expo-status-bar';
import { client } from './graphql/client';

export default function App() {
  return (
    <ApolloProvider client={client}>
      <SafeAreaProvider>
        <Navigation />
        <StatusBar />
      </SafeAreaProvider>
    </ApolloProvider>
  );
}
Define the Apollo Client
reactNativeApp/graphql/client.ts
import { ApolloClient } from '@apollo/client';
import { cache } from './cache';
import { link } from './link';

// Initialize Apollo Client

export const client = new ApolloClient({
  cache,
  defaultOptions: { watchQuery: { fetchPolicy: 'cache-and-network' } },
  link,
});
Define the Apollo Link
This is the critical piece of code for authentication. We define an authLink that sets request headers based on tokens being stored in local storage. We also define an afterWareLink that looks for new tokens being sent to us from the server. We've setup our server to automatically refresh tokens whenever the authToken has expired but the refreshToken has not. This avoids requiring the user to login again as long as s/he opens the app at least as often as the duration of the refreshToken. It also means we don't need to do another out-of-band graphql request to get new tokens while still logged in. Only if the user logs out or fails to open the app for longer than the duration of the refreshToken will the user need to log in again.
reactNativeApp/graphql/link.ts
import { ApolloLink, HttpLink, from } from '@apollo/client';
import { getTokens, setTokens } from '../util/tokens';

import { getHost } from './getHost';
import { setContext } from '@apollo/client/link/context';

const uri = getHost();
const httpLink = new HttpLink({ uri });

// get the access and refresh tokens from AsyncStorage and use them to set the request headers
const authLink = setContext(async (_, { headers }) => {
  const { accessToken, refreshToken } = await getTokens();
  return {
    headers: {
      ...headers,
      'x-access-token': accessToken,
      'x-refresh-token': refreshToken,
    },
  };
});

// our Apollo server is regularly sending new access and refresh tokens in
// the response headers. These need to be extracted and pushed to AsyncStorage
// See https://zach.codes/access-response-headers-in-apollo-client/

const afterwareLink = new ApolloLink((operation, forward) => {
  return forward(operation).map((response) => {
    const context = operation.getContext();
    const accessToken = context.response.headers.get('x-access-token');
    const refreshToken = context.response.headers.get('x-refresh-token');
    if (accessToken || refreshToken) setTokens({ accessToken, refreshToken });

    if (typeof response !== 'object')
      console.error(`Response is of type ${typeof response}, expected object`);
    return response;
  });
});

// see https://www.apollographql.com/docs/react/api/link/introduction/#additive-composition
export const link = from([authLink, afterwareLink, httpLink]);
A key module referenced above is the one that manages tokens. Because local storage is asynchronous in react-native many of these functions must be async. Some we don't need to wait for however.
// manage security tokens sent and received from the server

import AsyncStorage from '@react-native-async-storage/async-storage';
import { Buffer } from 'buffer';
import { getHost } from '../graphql/getHost';

const tokenList = ['graphqlHost', 'accessToken', 'refreshToken']; //order is important!

export interface tokens {
  accessToken: string;
  refreshToken: string;
}

export const setTokens = ({ accessToken, refreshToken }: tokens) => {
  console.info(`got new tokens!`);
  AsyncStorage.multiSet([
    ['graphqlHost', getHost()],
    ['accessToken', accessToken],
    ['refreshToken', refreshToken],
  ]).catch((error: any) => {
    console.error(`Error setting tokens: ${error.message}`);
  });
};

export const getTokens = async () => {
  const kvArray = await AsyncStorage.multiGet(tokenList);
  /* in development and staging we often bounce around between servers with different private keys
   * by associating tokens with a particular server we can avoid invalid token errors */
  const graphqlHost = kvArray[0][1];
  return graphqlHost === getHost()
    ? { accessToken: kvArray[1][1], refreshToken: kvArray[2][1] }
    : { accessToken: null, refreshToken: null };
};

// see if the app has tokens set and at least one is not expired
export const hasValidTokens = async () => {
  const { accessToken, refreshToken } = await getTokens();
  return isTokenValid(accessToken) || isTokenValid(refreshToken);
};

export const clearTokens = () => {
  AsyncStorage.multiRemove(tokenList);
};

// adapted from https://stackoverflow.com/a/69058154/2805154
const isTokenValid = (token: string | null) => {
  if (token?.length) {
    const payloadBase64 = token.split('.')[1];
    const decodedJson = Buffer.from(payloadBase64, 'base64').toString();
    const expiration = JSON.parse(decodedJson).exp * 1000;
    return Date.now() <= expiration;
  } else return false;
};
Here we have functions to set tokens, get tokens, check if the client has valid (unexpired) tokens, and clear tokens. All of these interact with local storage on mobile phones using the @react-native-async-storage/async-storage package.
Public and Authenticated routes
In react-native, routes are defined using react-navigator. The demo app in this project is simple, it has a public route and a private one. The public one shows a list of books fetched from the server. The private one shows the current user's profile. If the user is not logged in they are prompted to do so.
You're not reading this post to learn about unauthenticated routes so let's jump into the private one. The screen code is:
import { Button, StyleSheet, Text, View } from 'react-native';
import React, { useEffect, useState } from 'react';
import { clearTokens, hasValidTokens } from '../util/tokens';

import { Login } from '../components/Login';
import { Profile } from '../components/Profile';

export const Private = () => {
  const [isLoggedIn, setLogin] = useState(false);
  useEffect(() => {
    hasValidTokens().then((ht) => setLogin(ht));
  }, []);

  return (
    <View style={styles.container}>
      {isLoggedIn ? (
        <>
          <Profile />
          <Button
            title="Logout"
            onPress={() => {
              clearTokens();
              setLogin(false);
            }}
          />
        </>
      ) : (
        <Login setLoggedIn={setLogin} />
      )}
    </View>
  );
};

// stylesheet omitted for brevity
The profile component is only shown if we think the user has valid tokens. That component handles its own graphql query to get the current logged-in user's personal information.
import * as React from 'react';

import { StyleSheet, Text, View } from 'react-native';
import { gql, useQuery } from '@apollo/client';

import { Spinner } from '../components/Spinner';

const ME = gql`
  query {
    me {
      id
      username
      nickname
    }
  }
`;

export const Profile = () => {
  const { data, error } = useQuery(ME);
  if (data) {
    const { id, username, nickname } = data.me;
    return (
      <View style={styles.container}>
        <Text style={styles.h1}>User Profile</Text>
        <Text style={styles.id}>
          <Text style={styles.label}>id: </Text>
          {id}
        </Text>
        <Text style={styles.name}>
          <Text style={styles.label}>username: </Text>
          {username}
        </Text>
        <Text style={styles.name}>
          <Text style={styles.label}>nickname: </Text>
          {nickname}
        </Text>
      </View>
    );
  } else if (error)
    return (
      <View style={styles.container}>
        <Text>Error loading data: {error.message}</Text>
      </View>
    );
  else return <Spinner />;
};

const styles = StyleSheet.create({
  container: {
    flex: 1,
    backgroundColor: '#fff',
    alignItems: 'center',
    justifyContent: 'center',
  },
  h1: {
    fontWeight: '700',
    fontSize: 16,
    paddingVertical: 5,
  },
  id: {
    fontStyle: 'italic',
    textAlign: 'center',
  },
  label: {
    fontWeight: '500',
  },
  name: {
    textAlign: 'center',
  },
});
Note that the resolver code for the me query is simply:
me: (_: any, __: any, { req }: any) => {
      // retrieve the current user, but only if they are logged in!
      const userId = req.user?.id; // user will only be set if valid tokens have been provided
      if (userId) return findUserById(userId);
    },
This code gets the current user's id from the req and returns the matching user data. It could also throw an authentication error if a non-logged-in user attempted to query it but for now it simply returns nothing.
Results
Running the app in the iOS and Android emulators lets us see the result.
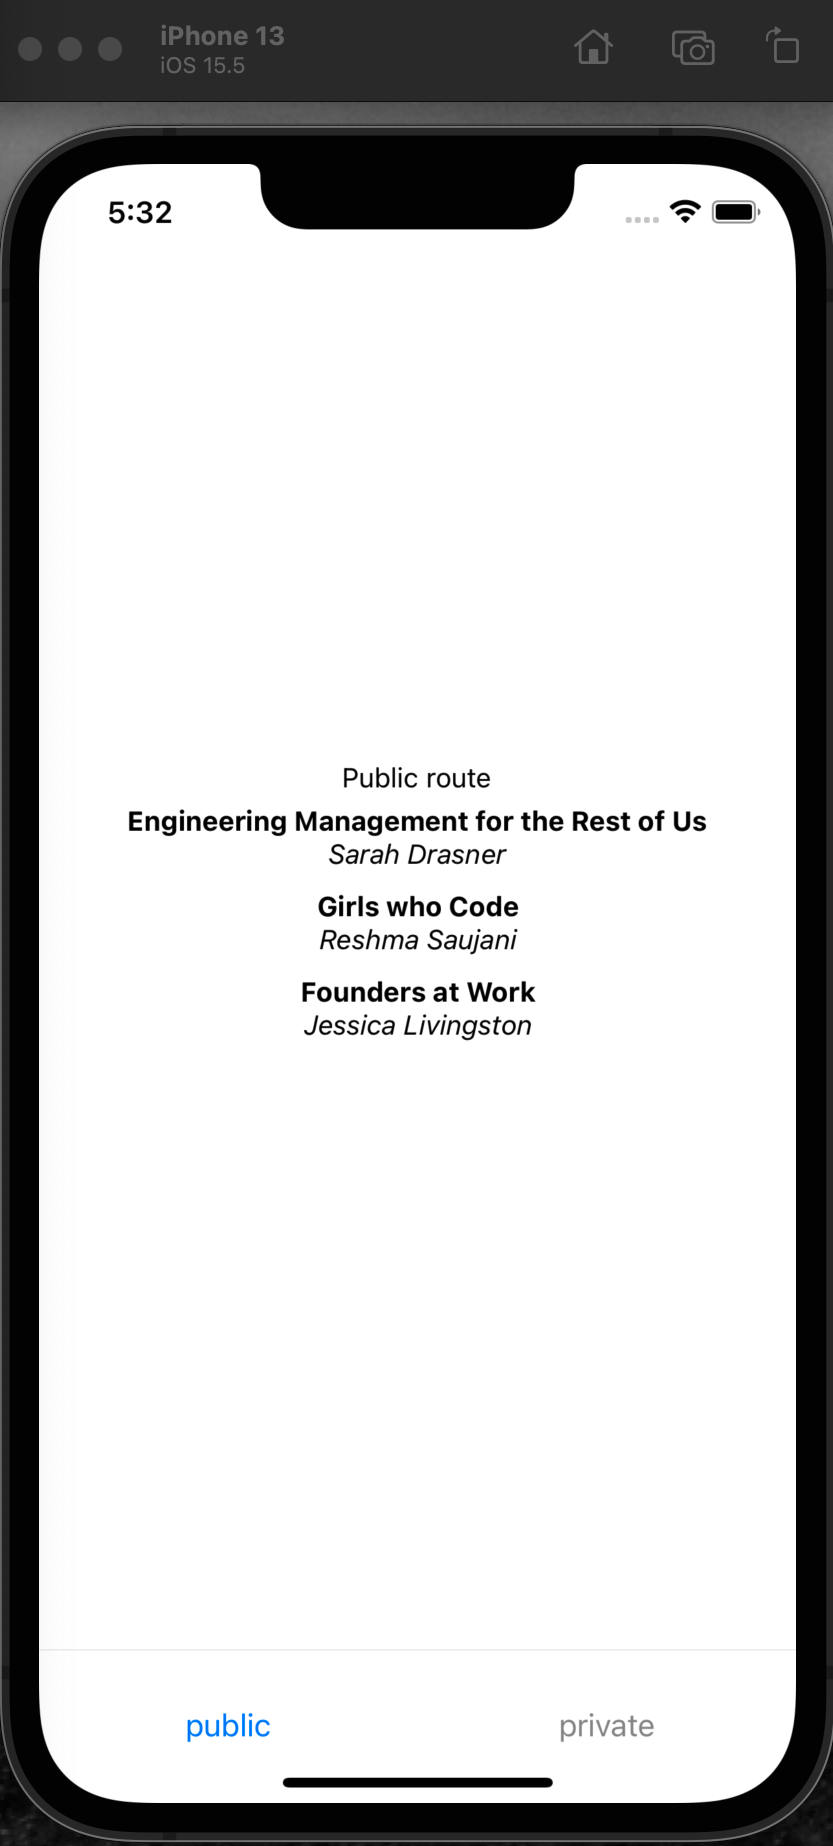
Public Route - iOS
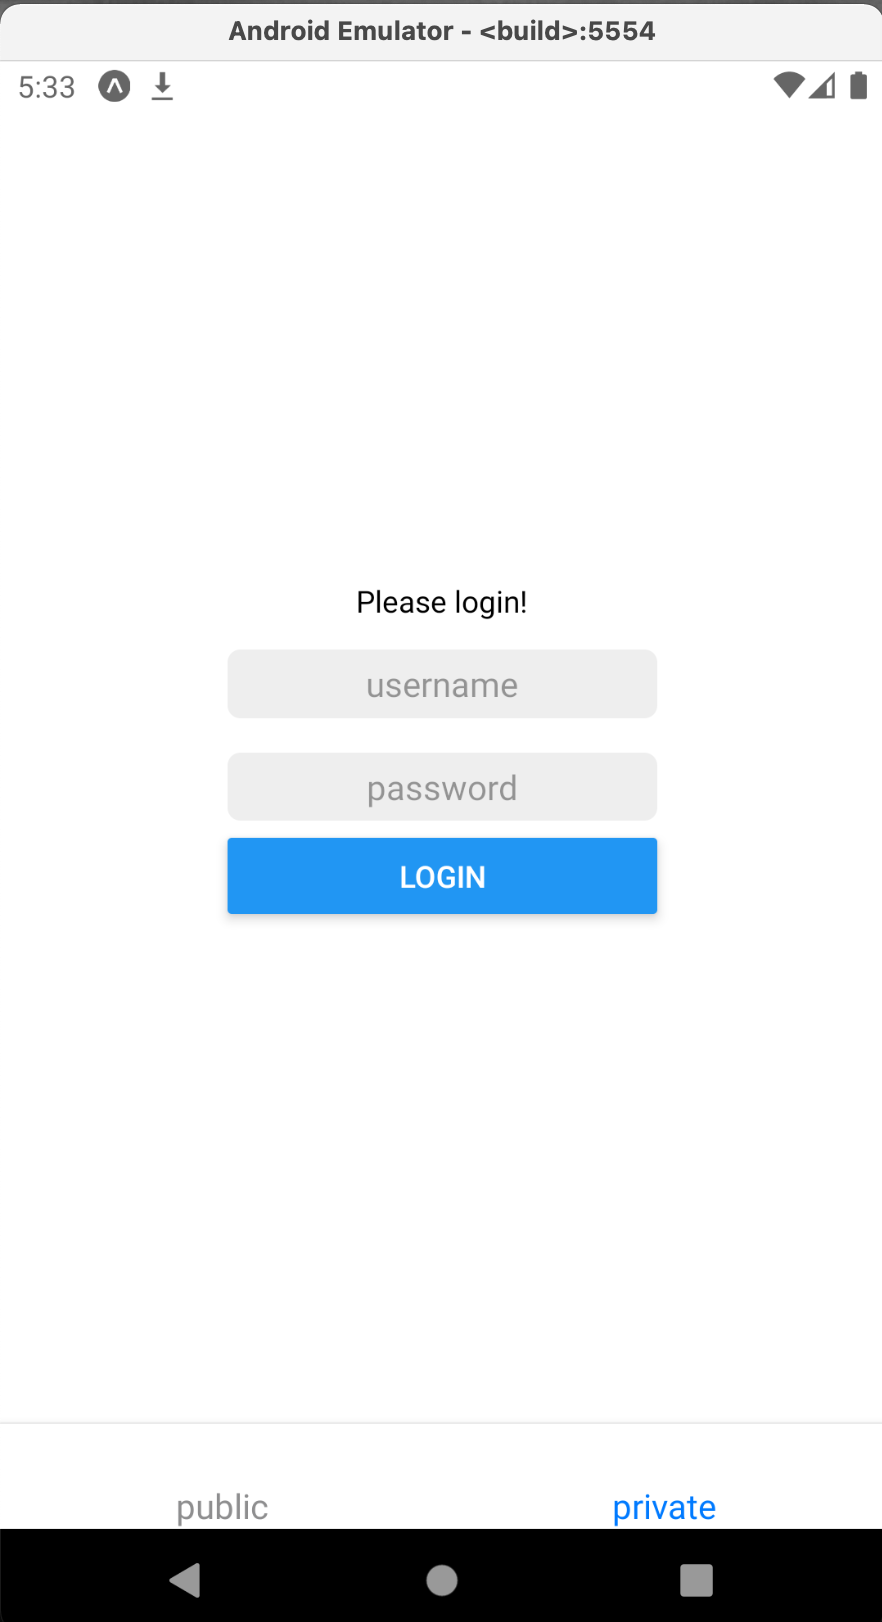
Private Route - User not Logged-In - Android
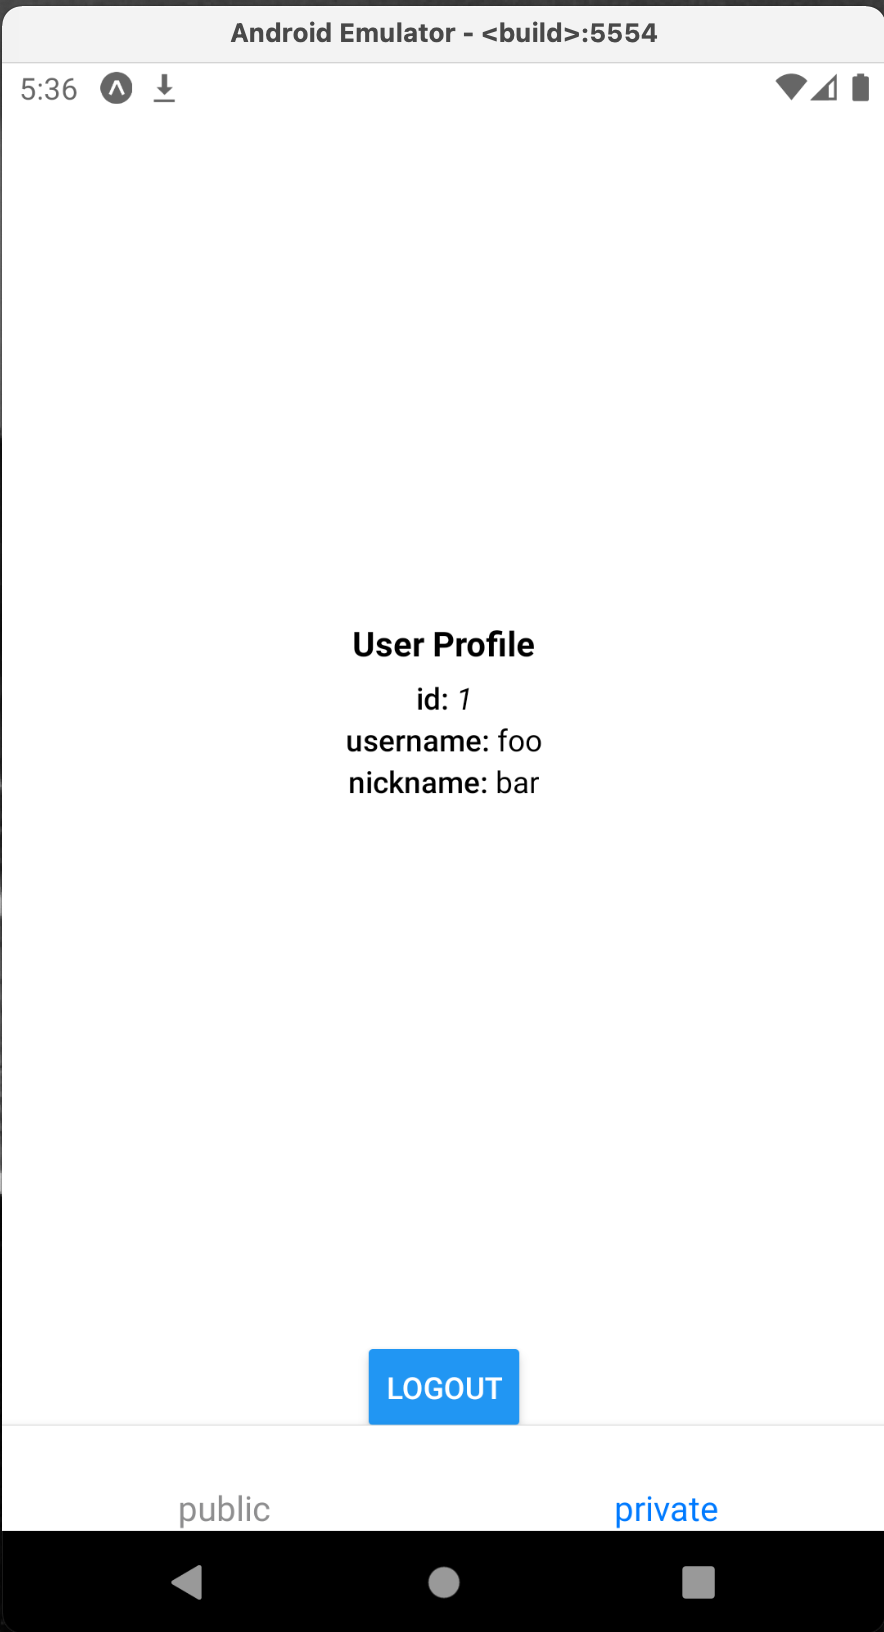
Private Route - User Logged In - Android